-
 [email protected]
-
 +86 15857619833
-
+86-18989628252
[email protected]
+86 15857619833
+86-18989628252

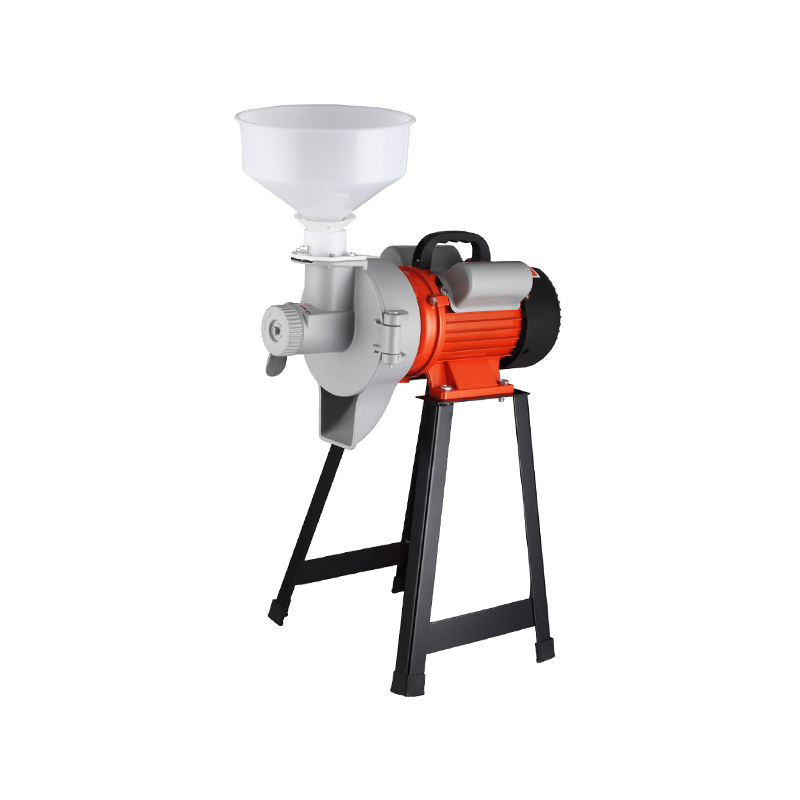
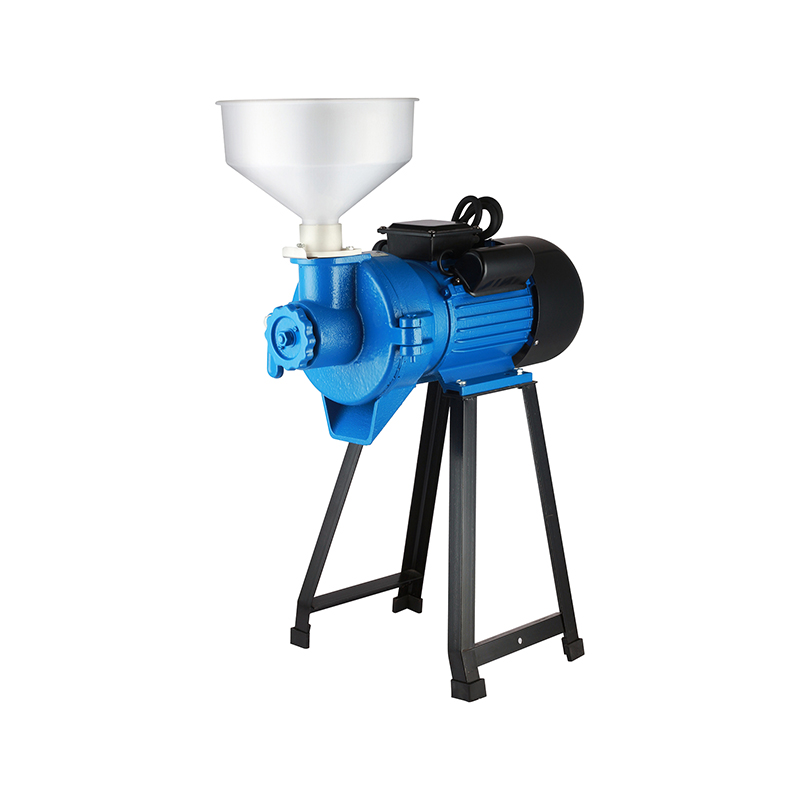
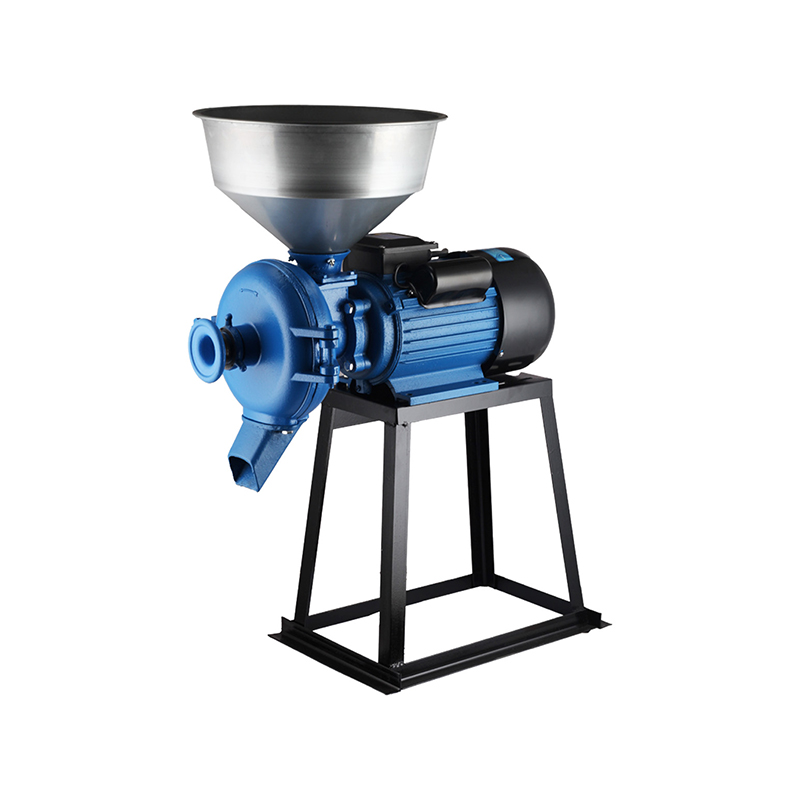
Flour ground at home smells and tastes different from a bag taken off a supermarket shelf. It also behaves differently once it sits in a container. An Electric Home Grain Mill makes it easy to grind small batches on demand, and a few storage habits keep that flour pleasant to bake with.
Whole grain flour keeps the bran, the germ, and the starchy center together. The germ carries natural oils, and those oils react with oxygen over time. Warm air speeds this up, which is why a bag of whole wheat flour left near the stove can smell flat or bitter within a short period.
Moisture and light also matter. A damp cupboard can cause clumping and encourage mold, while a clear jar on a sunny counter exposes the flour to light and warmth. Flour also picks up odors easily, so a loosely closed bag next to onions or spices will carry those smells into your pancakes.
Flour that has just come out of a Grain Miller Machine can feel slightly warm because of friction during grinding. Spread it in a clean, dry bowl or tray and let it cool completely before sealing. Closing a lid on warm flour traps steam, and that moisture settles on the container walls as droplets.
Look over the flour while it cools. Damp patches, unexpected lumps, or an unfamiliar smell mean something went wrong during grinding, often because the grains were not fully dry. Use dry scoops and spoons, since a single wet measuring cup can introduce enough water to spoil a container.
Portioning is worth the extra minute. A household that bakes bread on weekends and makes pancakes on weekday mornings can keep one small jar for each purpose and store the remainder separately. Smaller containers are opened less often, which limits how much air reaches the bulk of the flour.
Add a label to each container with the grain name and the milling date. Wheat, oat, and rye flours look similar once ground, and a date helps you use older batches before newer ones.
The answer depends on how quickly you use the flour and how warm your kitchen gets. Kitchens in humid climates or without air conditioning in summer put more strain on stored flour than a cool pantry in a dry region.
| Storage Method | Suits This Situation | Points to Watch |
|---|---|---|
| Pantry or cupboard | Flour used within a short period | Keep away from the oven, dishwasher, and windows |
| Refrigerator | Regular baking with some flour left over | Use sealed containers, away from strong-smelling foods |
| Freezer | Large batches or flour set aside for later | Portion into recipe-sized bags and press out extra air |
A pantry shelf works when a batch will be used soon and the room stays cool and dry. Choose a spot away from heat sources, and use a lidded container instead of an open bowl or a folded bag.
Refrigeration slows changes in the natural oils, so it suits people who grind more than one baking session needs. Keep the container sealed and place it away from items such as cut onions, fish, or leftovers with strong smells.
Freezing helps when you have milled a larger amount or want flour ready for future weekends. Pack it in freezer-safe bags in portions that match your usual recipes, and write the grain and date on the bag.
Flour straight from the refrigerator or freezer is cold, and opening the container immediately lets room air hit a chilled surface. Water condenses on it, and the flour can clump. Leave the sealed container on the counter until it feels close to room temperature, then open it.
A practical habit is to remove only what the next recipe needs. Keeping the rest cold and sealed means the main supply goes through fewer temperature swings.
Airtight glass jars with wide mouths are easy to fill and scoop, and you can see how much remains. Keep them in a cupboard instead of on an open counter, because sunlight warms the glass. Food-safe plastic tubs with secure lids are lighter and stack neatly in a refrigerator or freezer. Check that the seal is intact and that the tub does not hold the smell of earlier contents, such as curry or garlic.
Some containers cause problems. Damp jars, bags with small holes, open bowls, and packaging not intended for food contact all expose flour to moisture, insects, or unwanted flavors. A container should be washed, dried completely, and checked before each refill.
Smell is the quickest check. Fresh whole grain flour usually smells mildly nutty, sweet, or earthy, depending on the grain. A sour, musty, or paint-like odor suggests the oils have turned rancid, and the flour will give bread and cookies a harsh aftertaste.
Look for dampness, color changes, fuzzy spots, or small insects. Lumps that do not crumble when pressed between your fingers can also point to moisture. Flour with mold or signs of contamination should be thrown away, since baking does not make it safe.
Grains differ in oil content and texture. Oat and rye flour, for example, may not behave like wheat flour once ground, and a mix of several types in one jar makes it hard to judge when something has changed. Separate, labeled containers let you notice differences in smell or texture for each grain.
Whole kernels that have not been ground keep differently from flour. Store them in clean, dry, sealed containers and grind only what the next baking session calls for. The intact kernel protects the germ from air, so unground grain remains stable for much longer than flour.
Decide what you plan to cook before switching on the Electric Home Grain Mill. A loaf of sandwich bread, a batch of waffles, or a tray of muffins each need a known amount, and grinding close to that amount leaves little to store.
Machine care affects flour quality too. After each use, follow the maker’s cleaning instructions, brush out flour residue from reachable areas, and check for stray kernels. Let the parts dry fully before the next session, because leftover moisture and old flour dust can transfer stale smells to a new batch. Cleaning methods differ between models, so the manual for your Grain Miller Machine is the reference to follow.
| Step | Task | Reason |
|---|---|---|
| Select | Pick clean, dry grain | Prevents moisture from entering the mill |
| Grind | Mill an amount that fits the recipe | Limits leftover flour |
| Cool | Spread the flour out and let it settle | Reduces condensation in the container |
| Portion | Divide into small, labeled containers | Makes daily use easier |
| Store | Choose pantry, refrigerator, or freezer | Matches your kitchen and baking pace |
| Clean | Wipe and dry the mill | Keeps the next batch fresh |
Sealing flour while it is still warm is a frequent one, along with using jars that were washed but not dried. Others include leaving a bag folded over on a shelf near the stove, tipping new flour on top of old flour, and repeatedly opening one large container for small amounts.
Each mistake has a simple fix. Allow time to cool, dry containers on a rack before filling, use lidded jars, keep batches apart, and portion into smaller containers.
Fresh flour suits households that bake bread, pancakes, flatbreads, or muffins on a regular schedule. Storage then becomes part of the routine, no different from covering leftovers or wiping the counter. Grinding in modest amounts, labeling jars, and checking the smell before use keep results consistent from one bake to the next.
If you are considering a home mill, think about how often you bake, how much space you have for containers, and how easy the machine is to clean. Looking at our Electric Home Grain Mill range alongside those needs can help you choose a Grain Miller Machine that fits the way you cook.


Asynchronous Motor Manufacturer



 English
 中文简体